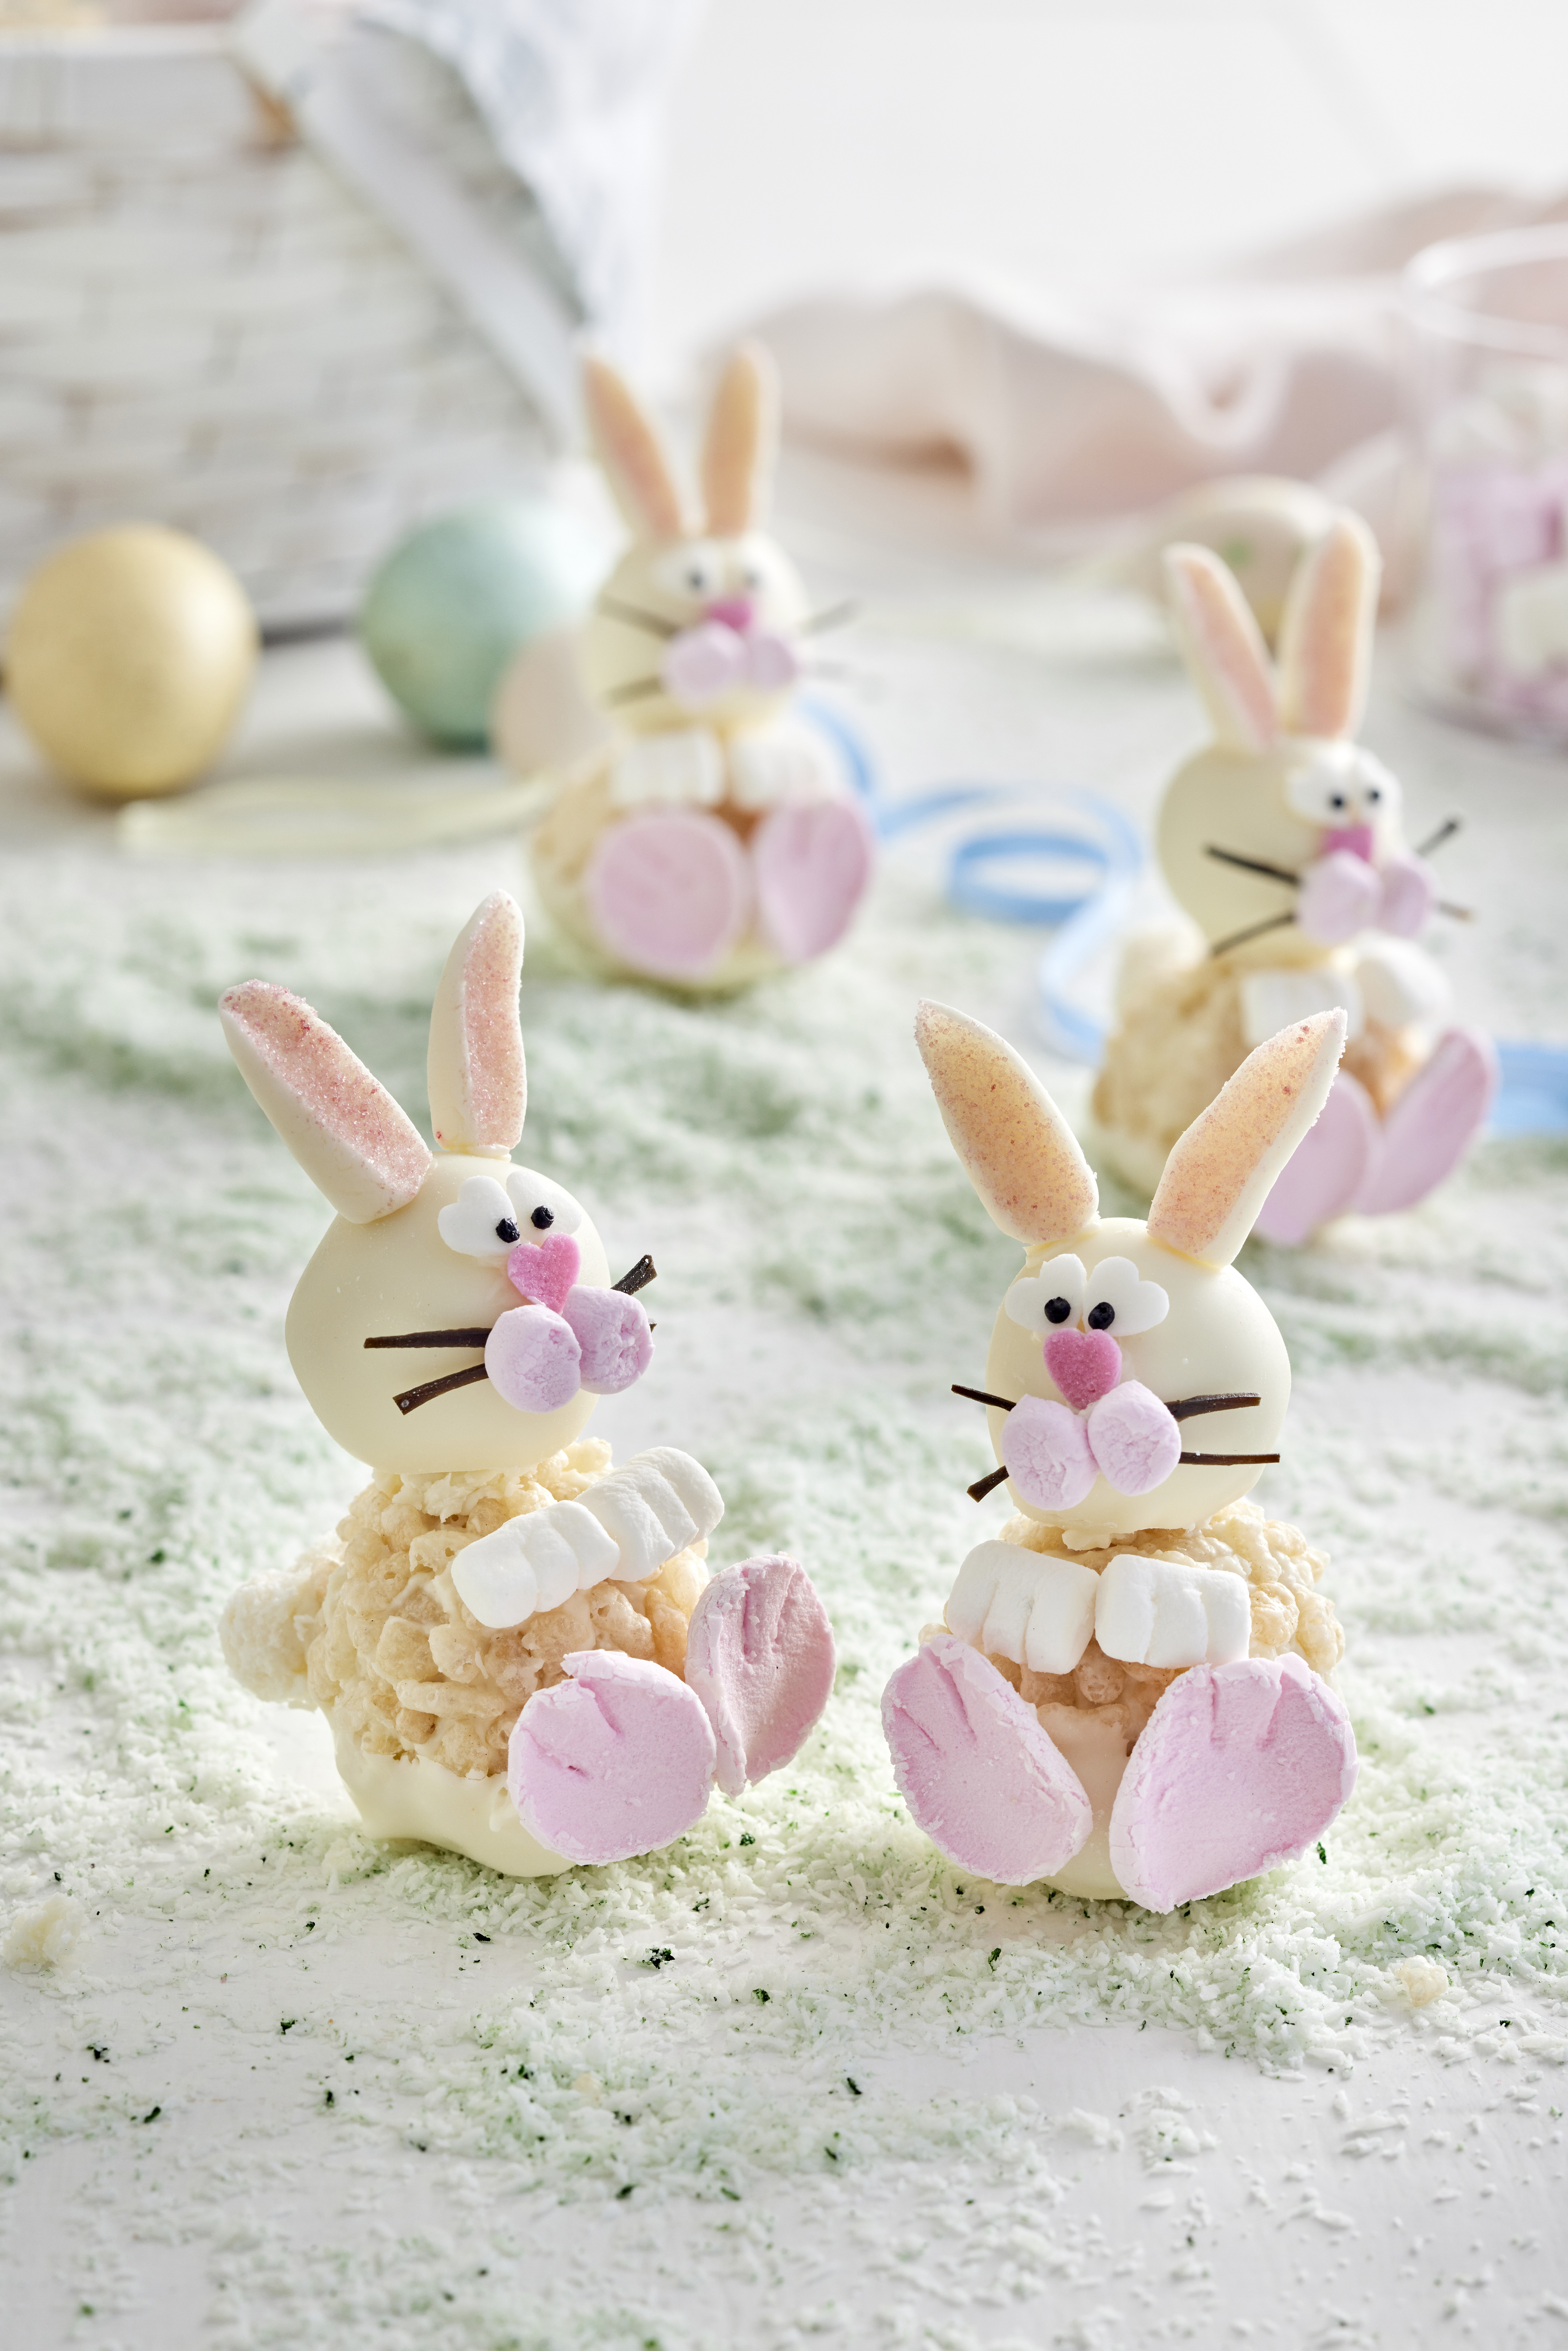
Get creative with the kids this Easter with these adorable White Crackle Bunnies. Easy to follow, no-bake and fun to make!
rating:
Easy
2.5 hours
prep
12
Copha is the Australian brand for Kremelta. These products are identical but in different packaging.
Ingredients
CRACKLE MIXTURE
- 2 x 180g block white chocolate, chopped
- 75g Copha, chopped
- ½ cup (20g) Rice Bubbles, plus 1 cup (40g) extra for coating
- ½ cup (50g) desiccated coconut, plus extra for coating tail
DECORATIONS
- 2 ½ cups (435g) white chocolate
- 1 tbsp (30g) Copha, chopped
- Black liqourice straps for whiskers,
- Milk bottle lollies, pink food colouring and caster sugar for ear
- Milk bottle lollies and extra desiccated coconut for tails
- Pink and white marshmallows for cheeks and front paws
- Pink marschmallows for feet
- White Heart sprinkles and black writing icing pen for eyes
- Pink heart sprinkles for noses
Method
Crackle Mixture:
- To make crackle mixture, place chocolate and Copha in a large heatproof bowl. Sit bowl over a saucepan of simmering water. Stir until melted. Remove from the heat. Stir in ½ cup Rice Bubbles and ½ cup coconut. Mix well until combined. Refrigerate for 45 minutes to 1 hour, stirring every 15 minutes, or until just firm.
Bunny Head and Body:
- To make the bunny bodies, roll 1 heaped tbsp (approx. 30g) of mixture into a ball. Repeat to make total 12 large balls. Place onto a lined baking tray and set aside.
- To make the bunny heads, roll 2 heaped tsp (approx. 15g) of mixture into a ball then repeat to make total 12 small balls. Place onto prepared baking tray with the bodies.
- Roll bodies into extra 1 cup of Rice Bubbles to coat. Return to tray and refrigerate for 15 minutes.
Coating the Bunny:
- Meanwhile, place choc melts and Copha into clean heatproof bowl. Sit bowl over saucepan of simmering water and stir until melted. Remove from heat.
- One at a time, dip all the bunny heads into the melted chocolate, allowing excess to drip away. Return to lined tray.
- Repeat with the bodies, dipping so that only the bottom half is covered in chocolate. Place onto prepared tray with heads and refrigerate for 15 minutes. Reserve remaining chocolate.
Decorating the Easter Bunny:
- Using some of the reserved melted chocolate as glue, stick one head and one body together securely. Continue with remaining bunny heads and bodies.
- Trim liquorice to make whiskers and cut mini pink marshmallows in half to make the cheeks. Stick on 1 pink heart sprinkle for the nose. Add liquorice whiskers and marshmallow cheeks. Stick on 2 white heart sprinkles for the eyes, draw on eyeballs using black writing icing. Repeat with remaining lollies and bunnies.
- Place a ¼ cup caster sugar into a small plastic sandwich bag and add a few drops of pink food colouring. Massage sugar until evenly pink.
- Cut milk bottle lollies to form pointy ears and dip cut side into coloured sugar to make the pink inner ear. Glue ears onto each head with melted chocolate.
- For the paws, cut 2 slits into the side of a white mini marshmallow. Repeat until you have 24. Glue 2 onto each bunny body.
- For the large bunny feet, cut ends off a pink marshmallow. Make 2 slits in the end of each piece. Repeat until you have 24 feet. Glue 2 onto each bunny body.
- Cut the ends off 12 milk bottle lollies. Dip into white chocolate and drain off excess. Coat in desiccated coconut. Cool to harden and glue onto the back of the bunnies.
Tips:
- Copha and white chocolate can be melted in the microwave. Select High/30 secs. Stir and repeat until just softened.
- When gluing on candy features, allow the chocolate to cool and thicken slightly to prevent it dripping.
- Place and hold candy features for 3-5 seconds to allow chocolate to harden.
- If melted chocolate begins to harden too much, microwave for 30 secs and stir until soft.
- Store in an airtight container in the refrigerator for up to one week.
